Apple Pay has fundamentally transformed the way individuals conduct transactions, offering a seamless and secure method for making purchases both online and in-store. Developed by Apple Inc., Apple Pay serves as a digital wallet, enabling users to link their credit and debit cards to their Apple devices, including iPhone, iPad, Apple Watch, and Mac.
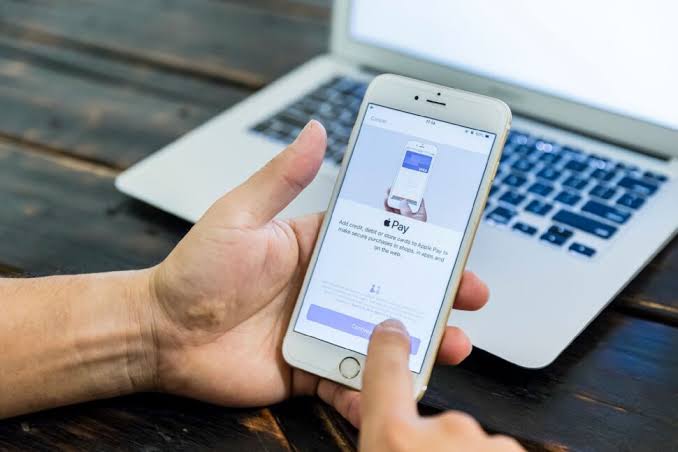
With Apple Pay, users can make contactless payments effortlessly, eliminating the need to physically present their cards.To use Apple Pay at a store, users must first add their cards to the Wallet app on their Apple device.
This process involves entering card details manually or scanning the card using the device’s camera. Once the cards are added, users can activate Touch ID or Face ID for added security during payment authorization.
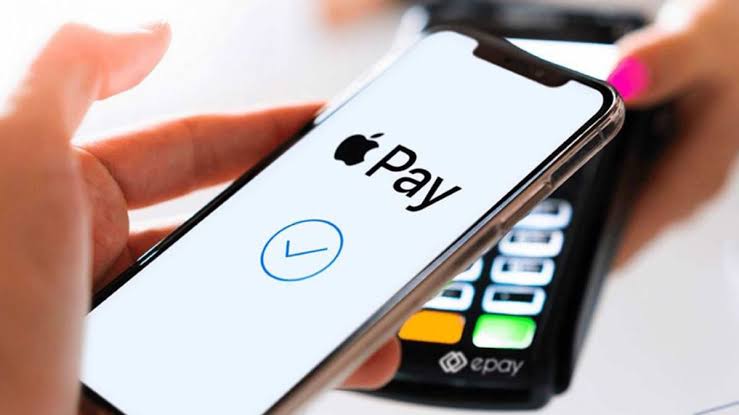
When making a purchase at a store, users should look for the Apple Pay logo at the checkout terminal. To authorize the payment, users simply hold their Apple device near the contactless reader and authenticate the transaction using Touch ID or Face ID. Upon confirmation, users can collect their receipt if one is provided.
The benefits of using Apple Pay at a store are multifaceted. Firstly, Apple Pay offers unparalleled convenience, allowing users to leave their physical wallets at home and complete transactions using only their Apple devices. This streamlines the checkout process and reduces the hassle of carrying multiple cards or cash.
In addition to convenience, Apple Pay prioritizes security. Transactions made through Apple Pay are protected by advanced encryption and tokenization technology, ensuring that users’ card information remains secure during transactions. Moreover, the authentication methods of Touch ID or Face ID provide an extra layer of protection against unauthorized access to devices.
Speed is another advantage of using Apple Pay at a store. Transactions are typically faster than traditional chip or swipe transactions, as users only need to hold their device near the contactless reader and authenticate the transaction with a quick touch or glance.
This expedites the checkout process for both users and merchants, leading to shorter wait times and increased efficiency. Furthermore, Apple Pay is widely accepted at millions of stores worldwide, including grocery stores, restaurants, retail shops, and more.
Users can easily identify stores that accept Apple Pay by looking for the Apple Pay logo or contactless payment symbol at the checkout terminal. This widespread acceptance ensures that users can use Apple Pay for their purchases in a variety of locations and contexts.
Users may also enjoy additional benefits when using Apple Pay, such as reward points, cash back, or exclusive offers from their banks or credit card issuers. Many financial institutions offer incentives to encourage users to use Apple Pay for their transactions, providing them with an opportunity to earn rewards while making purchases.
Read Also: Unlocking the Benefits of Health Insurance: A Comprehensive Guide
How to Set Up Your Apple Pay

Setting up Apple Pay is a straightforward process that allows users to securely add their credit and debit cards to their Apple devices, enabling them to make contactless payments both online and in-store. By following the steps outlined above and adhering to the tips for a smooth setup, users can enjoy the convenience and security of Apple Pay for their transactions both online and in-store.
1. iPhone:
Setting up Apple Pay on iPhone is simple and can be done in just a few easy steps:
1. Open the Wallet App: Begin by opening the Wallet app on your iPhone. This app is where you’ll manage your cards and make payments with Apple Pay.
2. Tap on the “+” Icon: In the Wallet app, tap on the “+” icon located in the top right corner of the screen.
3. Add Your Card: Follow the prompts to add your credit or debit card to Apple Pay. You can either manually enter your card details or use your device’s camera to scan your card.
4. Verify Your Card: After entering your card details, your bank may require you to verify your identity. This could involve receiving a verification code via SMS or email, or answering security questions.
5. Complete Setup: Once your card is verified, it will be added to Apple Pay, and you’ll be ready to make payments using your iPhone.
2. iPad:
Setting up Apple Pay on iPad follows a similar process to iPhone:
1. Open Settings: Start by opening the Settings app on your iPad.
2. Tap on Wallet & Apple Pay: In the Settings menu, tap on “Wallet & Apple Pay.”
3. Tap on Add Card: Select “Add Card” and follow the prompts to add your credit or debit card to Apple Pay.
4. Verify Your Card: Just like on iPhone, you may need to verify your card with your bank to complete the setup process.
5. Complete Setup: Once your card is verified, it will be added to Apple Pay on your iPad.
3. Apple Watch:
To set up Apple Pay on your Apple Watch, follow these steps:
1. Open the Apple Watch App: Start by opening the Apple Watch app on your iPhone.
2. Tap on Wallet & Apple Pay: In the Apple Watch app, tap on “Wallet & Apple Pay.”
3. Add Your Card: Select “Add Card” and follow the prompts to add your credit or debit card to Apple Pay on your Apple Watch.
4. Verify Your Card: As with iPhone and iPad, you may need to verify your card with your bank to complete the setup process.
5. Complete Setup: Once your card is verified, it will be added to Apple Pay on your Apple Watch, and you’ll be ready to make payments from your wrist.
4. Mac:
Setting up Apple Pay on your Mac is slightly different from setting it up on your iPhone, iPad, or Apple Watch:
1. Open System Preferences: Start by opening System Preferences on your Mac.
2. Click on Wallet & Apple Pay: In System Preferences, click on “Wallet & Apple Pay.”
3. Add Your Card: Click on “Add Card” and follow the prompts to add your credit or debit card to Apple Pay on your Mac.
4. Verify Your Card: Similar to the other devices, you may need to verify your card with your bank to complete the setup process.
5. Complete Setup: Once your card is verified, it will be added to Apple Pay on your Mac, and you’ll be able to use it for online purchases in Safari.
Tips for a Smooth Setup of Your Apple Pay
1. Ensure Device Compatibility: Make sure your device is compatible with Apple Pay. Not all iPhones, iPads, Apple Watches, and Macs support Apple Pay.
2. Check Bank Compatibility: Ensure that your bank supports Apple Pay and that your credit or debit card is eligible for use with the service.
3. Update Software: Make sure your device’s operating system is up to date. Apple Pay may require the latest version of iOS, watchOS, or macOS to function properly.
4. Secure Your Device: Set up a passcode, Touch ID, or Face ID on your device to enhance security when using Apple Pay.
5. Enable Two-Factor Authentication: Consider enabling two-factor authentication for added security when adding cards to Apple Pay.
6. Keep Cards Updated: Regularly check and update your card information in the Wallet app to ensure smooth transactions.
7. Explore Additional Features: Once you’ve set up Apple Pay, explore additional features such as loyalty cards, boarding passes, and transit cards that can be added to the Wallet app for added convenience.
Read Also: The Ultimate Guide to Shopping at Your Favourite Item Shop
How Secure is Apple Pay?

Apple Pay is widely regarded as one of the most secure methods of making payments, both online and in-store. With its robust security features and encryption technologies, Apple Pay offers users peace of mind when it comes to protecting their financial information. Some of the security measures employed by Apple Pay and why it is considered a safe and secure payment method are as follows:
1. Secure Element Technology: At the core of Apple Pay’s security is its use of Secure Element technology. This technology stores encrypted payment information securely on the device’s chip, rather than on Apple’s servers or in the cloud. This means that sensitive card data, such as credit or debit card numbers, is never transmitted to merchants or stored on Apple’s servers, reducing the risk of unauthorized access or data breaches.
2. Tokenization: Apple Pay utilizes tokenization to further enhance security during transactions. When a user adds a credit or debit card to Apple Pay, the card details are replaced with a unique token – a randomly generated series of numbers – that is used for transactions instead of the actual card number. This token is specific to the device and transaction, making it virtually impossible for hackers to intercept and decipher the information.
3. Touch ID and Face ID: To authorize payments with Apple Pay, users must authenticate their identity using Touch ID or Face ID. These biometric authentication methods provide an additional layer of security by ensuring that only the authorized user can authorize transactions. Touch ID uses the user’s fingerprint to authenticate payments, while Face ID uses facial recognition technology to verify the user’s identity.
4. Device Authentication: Apple Pay requires devices to be authenticated with a passcode, Touch ID, or Face ID before payments can be authorized. This means that even if a user’s device is lost or stolen, unauthorized individuals cannot make payments without first authenticating with the user’s passcode, fingerprint, or face.
5. Transaction Limits and Alerts: Apple Pay imposes transaction limits to help prevent fraudulent activity. These limits vary depending on the issuing bank and may include daily or per-transaction limits. Additionally, users can set up alerts to notify them of any suspicious or unauthorized transactions, allowing them to take immediate action if their card is compromised.
6. Encryption: All communication between the device, the payment terminal, and the bank is encrypted to protect sensitive information from interception by hackers or malicious actors. This end-to-end encryption ensures that payment data remains secure throughout the transaction process, from the moment the user authorizes the payment to the moment it reaches the bank for processing.
7. Device-Level Security: Apple devices are known for their robust security features, including regular software updates, sandboxing of apps, and hardware-based encryption. These features help protect against malware, viruses, and other security threats that could compromise the security of payment information stored on the device.
8. Fraud Protection: In the event that a fraudulent transaction occurs, users are protected by the same fraud protection policies offered by their banks or credit card issuers. This means that users are not liable for unauthorized transactions made with Apple Pay, provided they report the fraud in a timely manner.
9. Location-Based Authentication: Some banks and credit card issuers offer additional security features for Apple Pay, such as location-based authentication. This feature uses the device’s GPS or location services to verify the user’s location before authorizing a transaction, adding an extra layer of security to prevent unauthorized use of the card.
10. Data Privacy: Apple is committed to protecting user privacy and does not collect or store transaction data that can be tied back to individual users. Transaction information is anonymized and encrypted, ensuring that users’ financial information remains private and secure.
Can I Use Apple Pay to Receive Money From International Customers?

While Apple Pay is primarily designed for making payments, it does not support the feature of receiving money directly from customers, whether they are international or domestic. Apple Pay is intended to facilitate transactions by allowing users to securely store their payment information on their Apple devices and make contactless payments at participating merchants, both online and in-store. However, the alternative method popular options are:
1. Payment Processing Services: Payment processing services such as PayPal, Stripe, and Square offer solutions for businesses to accept payments from customers worldwide. These platforms allow businesses to create invoices, set up online payment forms, and accept various payment methods, including credit cards, debit cards, and digital wallets.
PayPal, in particular, is widely used for international transactions and supports multiple currencies. Businesses can receive payments directly into their PayPal account and transfer funds to their bank account in their local currency. PayPal also offers seller protection and dispute resolution services, providing added security and peace of mind for businesses.
2. International Bank Transfers: Another option for receiving money from international customers is through international bank transfers. Many banks offer international wire transfer services that allow businesses to receive funds from customers abroad directly into their bank account. However, international bank transfers can be costly and may involve fees for currency conversion and transaction processing.
Businesses should also be aware of potential delays and regulatory requirements associated with international bank transfers, which can vary depending on the countries involved and the banks used. It’s essential to communicate with customers about any additional fees or requirements for international transactions to avoid misunderstandings.
3. Online Payment Gateways: Online payment gateways such as Stripe, Authorize.Net, and 2Checkout provide businesses with a secure way to accept payments from customers worldwide. These platforms integrate seamlessly with e-commerce websites and offer various features, including multi-currency support, fraud detection, and recurring billing.
Businesses can set up an online payment gateway to accept payments from international customers using credit cards, debit cards, and digital wallets. Payment gateways typically charge a transaction fee for each payment processed, along with additional fees for currency conversion and other services.
4. Digital Wallets: Digital wallets such as PayPal, Venmo, and Skrill allow users to send and receive money electronically, making them a convenient option for international transactions. Businesses can request payments from customers using their email address or phone number, and funds are transferred directly into their digital wallet account.
Digital wallets often offer features such as instant transfers, peer-to-peer payments, and mobile payment options, making them popular among consumers and businesses alike. However, businesses should be aware of any fees associated with receiving payments through digital wallets and ensure compatibility with their existing payment infrastructure.
5. Cryptocurrency Payments: Cryptocurrency payments offer an alternative way for businesses to receive payments from international customers. Platforms such as BitPay and Coinbase Commerce allow businesses to accept payments in cryptocurrencies such as Bitcoin, Ethereum, and Litecoin.
Cryptocurrency payments offer several advantages, including lower transaction fees, faster settlement times, and increased privacy and security. However, businesses should be aware of the volatility and regulatory uncertainty associated with cryptocurrencies and take appropriate measures to mitigate risks.
In conclusion, while Apple Pay is not designed to receive money directly from customers, there are several alternative methods available for businesses to accept payments from international customers.
Payment processing services, international bank transfers, online payment gateways, digital wallets, and cryptocurrency payments offer a range of options for businesses to securely and efficiently receive payments from customers worldwide. By choosing the right payment solution based on their needs and preferences, businesses can streamline their payment processes and expand their reach to international markets.
Read Also: List of Top Iron-Rich Foods Your Body Needs


